Understanding the Basics of Microgreens: What Are Microgreens and How to Grow Them at Home
- Debra Proctor
- Jun 29
- 4 min read

If you’ve ever wanted to add a burst of fresh flavor and nutrition to your meals, you’re in for a treat! Growing your own microgreens is a fantastic way to enjoy vibrant, nutrient-packed greens right from your kitchen or balcony. These tiny plants are not only easy to grow but also incredibly versatile and delicious. Let’s dive into the basics of microgreens, explore what they are, how to grow them, and why they deserve a spot in your home garden.
What Are Microgreens and Why Should You Care?
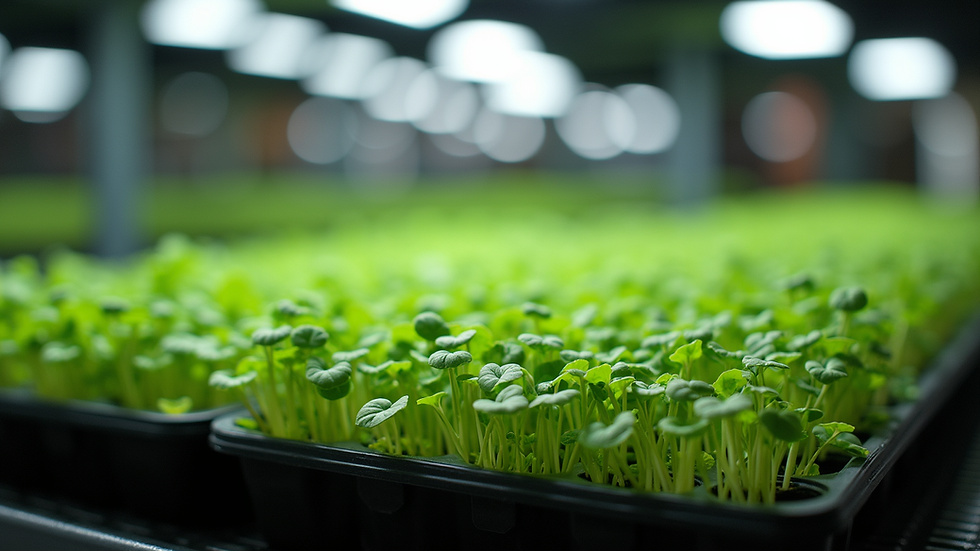
You might be wondering, what exactly are microgreens? Simply put, microgreens are young vegetable greens harvested just after the first leaves have developed. They are more mature than sprouts but younger than baby greens, usually harvested within 7 to 21 days after germination. These little powerhouses pack a punch in flavor, color, and nutrition.
Microgreens come from a variety of seeds including herbs like basil and cilantro, vegetables like radish and beet, and even grains like wheatgrass. They are rich in vitamins, minerals, and antioxidants, often containing higher nutrient levels than their mature counterparts. This makes them a fantastic addition to salads, sandwiches, smoothies, and garnishes.
Growing microgreens at home is a rewarding experience. You get to watch your plants grow quickly, enjoy fresh greens year-round, and reduce your carbon footprint by cutting down on store-bought produce. Plus, they add a beautiful splash of color and texture to your dishes!

Getting Started: What You Need to Grow Microgreens at Home
Starting your own microgreens garden is easier than you might think. You don’t need a big yard or fancy equipment—just a few simple supplies and a little bit of patience.
Here’s what you’ll need:
Seeds: Choose seeds specifically labeled for microgreens or organic seeds from trusted sources. Popular choices include sunflower, radish, broccoli, and pea shoots.
Growing trays: Shallow trays with drainage holes work best. You can find these at garden centers or repurpose containers from around your home.
Growing medium: Use a light, well-draining medium like coconut coir, peat moss, or a seed-starting mix.
Water: A spray bottle helps keep your seeds moist without overwatering.
Light: Microgreens need plenty of light to grow strong. A sunny windowsill or a grow light will do the trick.
Once you have your supplies, it’s time to prepare your trays. Fill them with your growing medium, sprinkle the seeds evenly, and gently press them down. Mist with water and cover with a lid or plastic wrap to keep humidity high until the seeds sprout. After a few days, remove the cover and place the tray in a bright spot.
Water your microgreens regularly but avoid soaking the soil. In about one to three weeks, you’ll see your tiny greens ready for harvest!
What are microgreens? A Closer Look at Their Growth and Benefits
Understanding the growth stages of microgreens helps you get the best results. After sowing, seeds absorb water and begin to sprout. The first leaves, called cotyledons, emerge and provide energy for the young plant. This is the stage when microgreens are typically harvested, just before the true leaves develop.
Why harvest so early? Because at this stage, microgreens have the highest concentration of nutrients and the most intense flavors. For example, radish microgreens offer a spicy kick, while basil microgreens bring a sweet, aromatic touch.
Besides their taste and nutrition, microgreens are also environmentally friendly. They require less water and space than traditional gardening, making them perfect for urban settings or small apartments. Growing your own microgreens means fewer trips to the grocery store and less packaging waste.
Tips and Tricks for Growing Healthy Microgreens
Growing microgreens is fun, but a few tips can help you avoid common pitfalls and get the best harvest:
Choose the right seeds: Not all seeds are suitable for microgreens. Avoid seeds treated with chemicals or those meant for field planting.
Keep the environment warm and humid: Most microgreens thrive between 60-75°F. Covering trays during germination helps maintain humidity.
Provide adequate light: After sprouting, microgreens need 12-16 hours of light daily. Natural sunlight or LED grow lights work well.
Water carefully: Use a spray bottle to mist your greens daily. Avoid overwatering to prevent mold growth.
Harvest at the right time: Use scissors to cut microgreens just above the soil line when they have their first set of true leaves.
Rotate your crops: Try different seeds and growing cycles to keep your microgreens garden exciting and diverse.
Remember, every batch is a learning experience. Don’t be discouraged by a few failed attempts. With practice, you’ll soon enjoy a steady supply of fresh, homegrown greens.
Creative Ways to Enjoy Your Homegrown Microgreens
Once you’ve harvested your microgreens, the fun really begins! These tiny greens are incredibly versatile and can elevate your meals in many ways:
Salads: Toss microgreens with your favorite greens for added texture and flavor.
Sandwiches and wraps: Add a handful for a fresh, crunchy bite.
Smoothies: Blend microgreens with fruits and veggies for a nutrient boost.
Garnishes: Sprinkle on soups, omelets, or pasta dishes for a pop of color.
Juices: Juice microgreens with other vegetables for a refreshing drink.
Because microgreens are so delicate, it’s best to add them to dishes just before serving. Store any leftovers in a sealed container in the refrigerator and use within a few days for maximum freshness.
Embrace the Joy of Growing Your Own Superfoods
Growing microgreens at home is more than just a gardening project - it’s a step toward a healthier, more sustainable lifestyle. These tiny plants offer big benefits, from boosting your nutrition to brightening your meals and reducing your environmental impact.
If you’re ready to start your own microgreens journey, remember to take it one step at a time. Gather your supplies, pick your favorite seeds, and enjoy the process of nurturing your greens. Before you know it, you’ll be harvesting fresh, vibrant microgreens that you grew yourself!
For more tips, seed recommendations, and growing guides, be sure to explore resources dedicated to helping you succeed with microgreens. Let’s grow together and make healthy eating easy and fun!
Ready to start growing? Grab your seeds and trays today and watch your microgreens flourish!


Comments